There’s more to filling moulded chocolates than most people think. This video lists all the aspects you have to keep in mind for flawless filling.
GOOD TO KNOW
What should you take to heart when making moulded chocolates?
Use polycarbonate moulds. These yield the best gloss and contract slower than chocolate, making unmoulding far easier.
Choose a fluid chocolate: a three-drop or four-drop fluidity is ideal.
Heat the moulds briefly before pouring in your chocolate. This way, you’ll avoid temperature shocks that could make your chocolate turn grey afterwards.
Make sure that your filling is smooth and fluid enough to pipe easily. Also check that it isn’t warmer than 28°C, otherwise the filling will make your chocolate shells melt.
Try to avoid making smudges on the rims of your chocolate moulds with the filling as they may cause leaks in your chocolate shells. Always fill each chocolate shell individually.
Never fill the chocolate shells to the brim. Leave a 1.5-mm opening from the top, otherwise it would be impossible to seal your chocolates properly.
Needed:
- Crystallised chocolate shells (still in the mould)
- Ganache, praline or a filling of your choice
- A piping bag with a plain tip
- A small palette knife
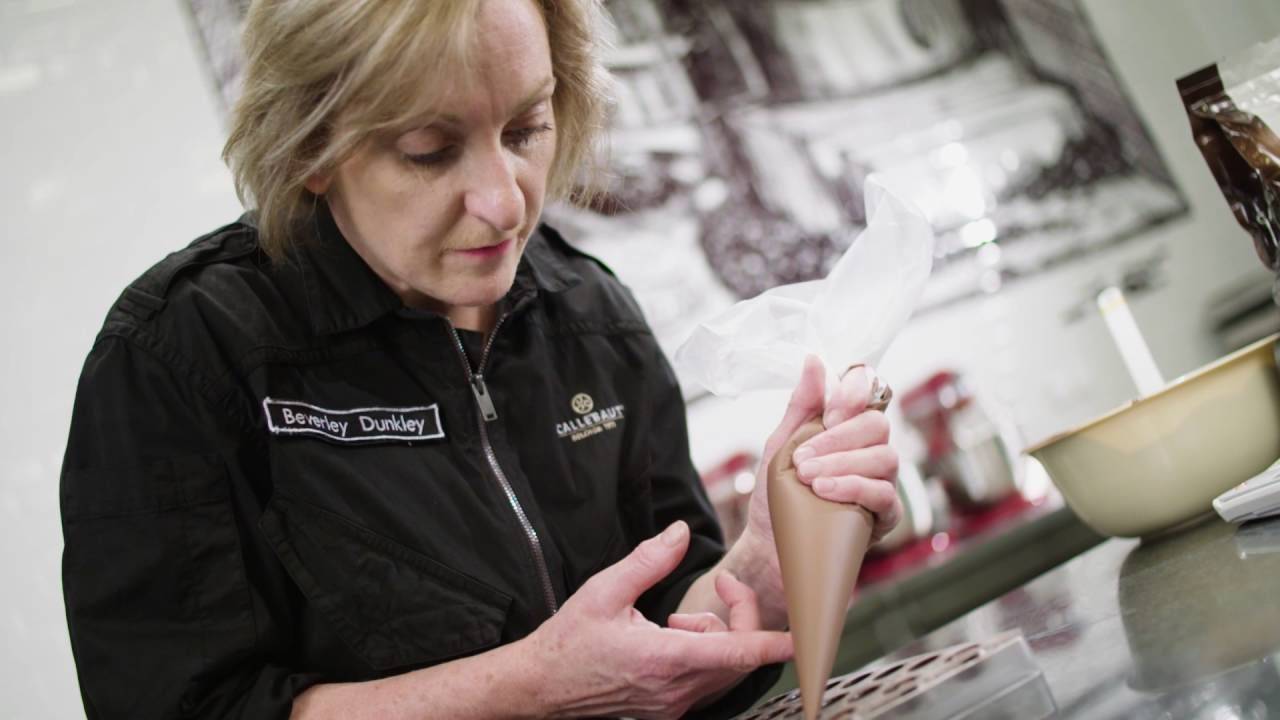
Step 1
Warm the filling of your choice (but no warmer than 28°C) and fill a piping bag with a plain tip (or no tip at all) with it.
Step 2
Pipe the filling into each chocolate shell individually and fill them to about 1.5 mm from the top, otherwise it would be impossible to seal your chocolates properly. Avoid making smudges on the rims of your chocolate moulds with the filling as they may cause leaks in your chocolate shells.
Step 3
Once the shells are filled, leave the filling to set.

Facing Problems with your Creations?
- Find troubleshooting guides & tutorials
Comments