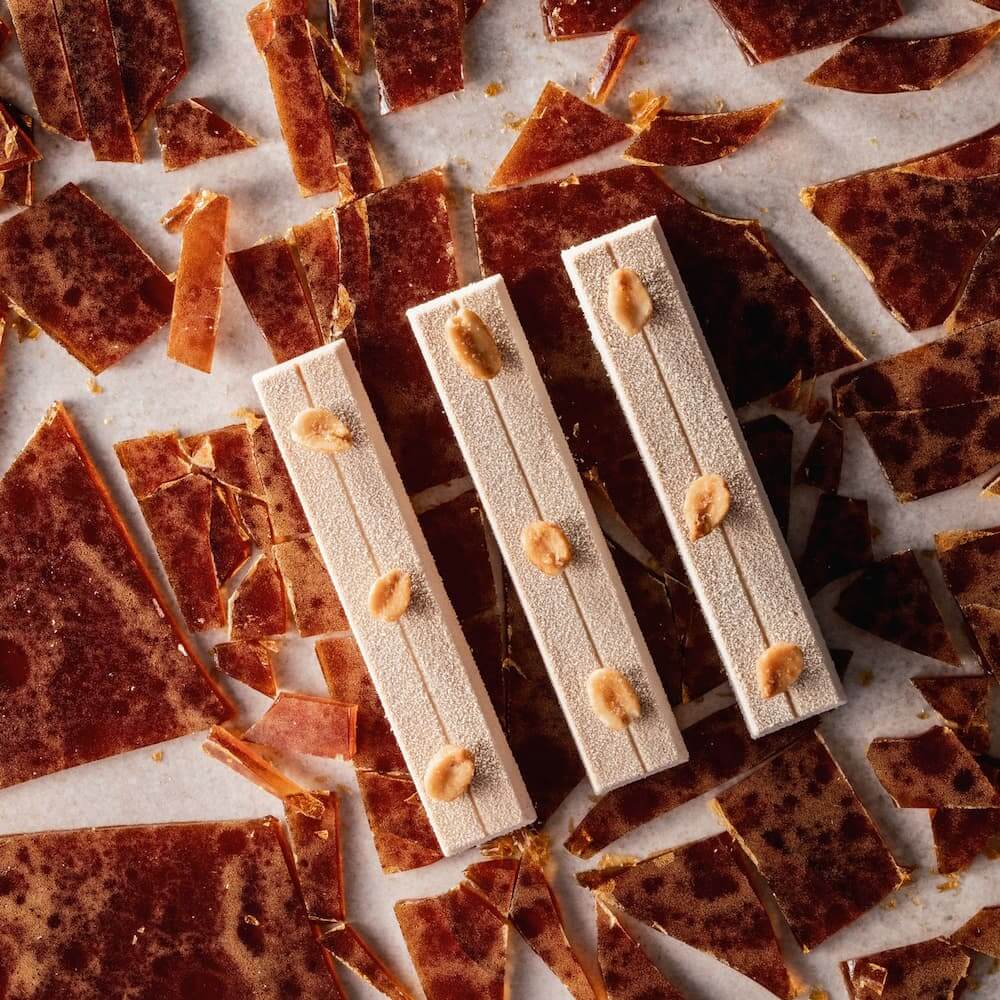
Moulded pralines
TROUBLESHOOTING: MOULDED PRALINES
Possible causes and solutions
No polycarbonate moulds were used
Smooth and squeaky-clean polycarbonate moulds make for a better final product.
The chocolate was undercrystallised
As a result, the chocolate hardens unevenly, which results in dull spots. Tempering your chocolate properly is the solution.
Insufficient contraction of the chocolate
Chocolate that is not fluid enough will be difficult to unmould, which results in dull spots. Choose chocolate with a high enough fluidity.
The chocolate was unmoulded too quickly
Apply the proper cooling procedure, and pay attention to your temperature and cooling time.
The chocolate was overcrystallised
As a result, the chocolate hardens unevenly, which results in dull spots. Here’s how you remedy overcrystallised chocolate.
Temperature shock during the cooling process
Cooling at a temperature that is too low will make the chocolate set too rapidly, resulting in dull spots.
Possible causes and solutions
The chocolate isn’t fluid enough
A less fluid chocolate won’t fill in the corners or the details of the mould, which results in holes after unmoulding. Choose chocolate with a high enough fluidity.
The chocolate was overcrystallised
Overcrystallised chocolate is quite thick, keeping it from filling in the mould details properly. Maintain the density of your tempered chocolate when working with it.
Angular moulds
Angular moulds require a rather fluid chocolate to be filled properly. Choose chocolate with a high enough fluidity.
Air bubbles weren’t removed during moulding
After filling your mould with tempered chocolate, always tap it against the edge of your worktop to remove all air bubbles from the chocolate.
Possible causes and solutions
Too much filling
As a result, your moulded chocolates can’t be sealed properly. Never fill them to the brim, but always keep a 1 to 1.5-mm opening from the top.
Possible causes and solutions
Fingerprints inside the moulds
Every time you touch the surface of a mould cavity, it leaves fingerprints on the chocolate shells you mould. You can avoid this by cleaning your chocolate moulds properly.
Possible causes and solutions
The chocolate was undercrystallised
It will harden badly and will stick to the mould. Clean your moulds and work with properly tempered chocolate.
The chocolate shell is too thin
As a result, it will break, making chocolate or even filling stick to the mould. Choose chocolate with a lower fluidity.
Possible causes and solutions
The cooling process is too slow
The chocolate was cooled too slowly after moulding. Apply the proper cooling procedure, cooling time and temperature.
The chocolate shell is too thick
As a result, it will cool too slowly (especially when used for moulded chocolates and small hollow figures). Choose chocolate with a high enough fluidity.
The chocolate was placed in the refrigerator too late or wasn't at all
The chocolates weren’t cooled after moulding, or they were cooled too late. Apply the proper cooling procedure, cooling time and temperature.
Sugar bloom: a white bloom with a grainy texture
Sugar bloom is caused by temperature shocks or because the chocolate shell is exposed to condensation. Nothing the proper storage procedure can’t prevent.
Possible causes and solutions
The chocolate wasn’t tempered (or pre-crystallised)
The cocoa butter in your chocolate didn’t have the right crystalline structure and therefore couldn’t harden. Always temper (or pre-crystallise) your chocolate properly before working with it.
Possible causes and solutions
The chocolate was undercrystallised
The cocoa butter in your chocolate didn’t have the right crystalline structure and therefore couldn’t harden. Always temper your chocolate properly before working with it.
Possible causes and solutions
The chocolate wasn’t tempered (or pre-crystallised)
That’s why your chocolate didn’t harden and sticks to the mould instead. Always temper (or pre-crystallise) your chocolate properly before you craft your delicacies with it.
The chocolate was undercrystallised
The cocoa butter in your chocolate didn’t have the right crystalline structure and therefore couldn’t harden. Always temper your chocolate properly before working with it.
Cooling time was too short
As a result, the chocolate didn’t harden sufficiently. Apply the proper cooling procedure, temperature and cooling time.
Possible causes and solutions
The chocolate shell is too thin
The chocolate won’t be able to contract enough during cooling, keeping it from being unmoulded easily. Choose chocolate with a lower fluidity.
Possible causes and solutions
The shell is moulded with chocolate that is too fluid
As a result, it will break off here and there during unmoulding. Choose chocolate with a lower fluidity.
The chocolate shell is too thin
As a result, it will stick to the mould and break. Create two to three layers of chocolate inside your mould before unmoulding your chocolate shells.
Possible causes and solutions
The chocolate was overcrystallised
As a result, it will harden into a thick shell. Make sure to temper your chocolate properly.
The chocolate wasn’t fluid enough
A one-drop or two-drop chocolate is only suited for moulding large hollow figures. Choose chocolate with a high enough fluidity.


