Tempering chocolate in the microwave is ideal for when you only need to prepare a smaller amount of chocolate.
GOOD TO KNOW
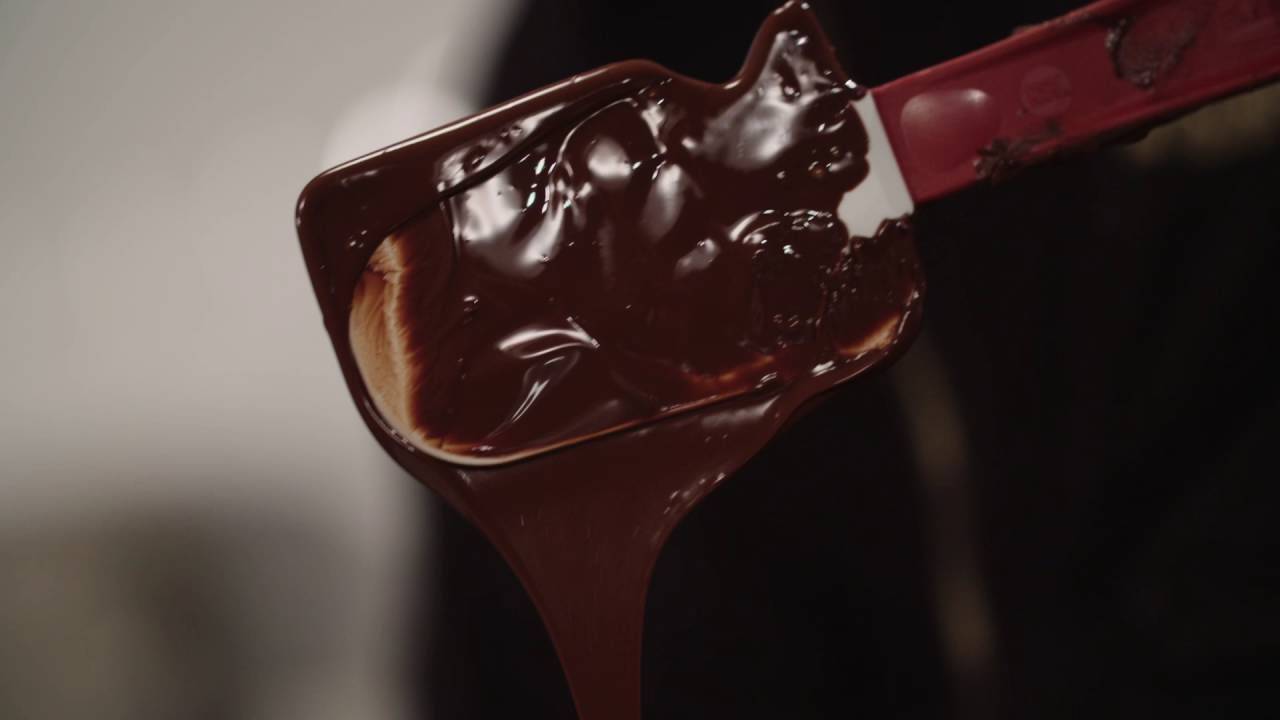
Why is fluidity so important?
The fluidity of your chocolate determines the thickness of the shell and the snap of your chocolate products: the more fluid your chocolate, the thinner and crunchier your shell will be.
Using chocolate with the right fluidity also saves time: you can cast large moulds in one go with less fluid chocolate. Chocolate with a higher fluidity is better for moulds with a lot of detail, but you’ll need to fill your mould with chocolate 2 to 3 times.
Why is it so important to pre-crystallise chocolate properly?
It helps chocolate harden, and gives it a beautiful satin gloss and a delicious snap. It makes chocolate contract during cooling, which makes it easier to unmould. Badly crystallised or uncrystallised chocolate will turn grey and won’t have an appetising gloss.
What is tempering or pre-crystallising?
The purpose of tempering chocolate is to pre-crystallise the cocoa butter in it, which is important to make your chocolate ready for processing. During tempering, the cocoa butter in the chocolate takes on a stable crystalline form. This guarantees a perfect finished product with a satin gloss and a hard snap. It also makes the chocolate contract during cooling, which makes it easier to unmould. If chocolate is simply melted (between 40 and 45 °C) and then left to cool down to a suitable working temperature, the finished product will not be glossy. If you make the small effort of bringing your chocolate to the right working temperature properly, you are guaranteed to get the desired end result. And that’s what we mean by tempering: bringing chocolate up to the right working temperature while making sure that the crystalline structure of the cocoa butter in it is stable. As you’ll discover below, the three key principles for proper tempering are time, temperature and movement.
Step 1
Pour a small amout of Callets™ into a plastic or glass bowl.
Step 2
Place the bowl in a microwave and melt the Callets™ at 800-1,000 W.
Step 3
Take the Callets™ out of the microwave every 15 to 20 seconds and stir well to make sure that the heat is distributed evenly throughout and to keep the Callets™ from burning.
Step 4
Repeat this procedure until the chocolate has almost entirely melted. Some small pieces of Callets™ should still be visible in the bowl.
Step 5
Take the bowl out of the microwave and stir the chocolate well until all the pieces of Callets™ have disappeared. You’ll notice that your chocolate is now smooth and slightly thicker. That means it is properly tempered and ready for use.
Which Callebaut chocolate needs to be tempered?
Each variety or type of chocolate should be tempered before you use it to mould chocolates and hollow figures, or to enrobe cakes and chocolates. In short, whenever chocolate needs to have a beautiful satin gloss and a hard snap, tempering is absolutely crucial.
When you add chocolate to dishes as a flavour component (e.g. chocolate mousses or bavarian creams), it suffices to simply melt it without tempering. All our recipes clearly indicate if your chocolate should be tempered or not.

Need support with your chocolate confections?
- Find troubleshooting guides & tutorials
Comments
Submitted by STEPHANIE FREE on Sat, 05/30/2026 - 01:19
Thank you so much for the instructional video! The instructions mention using a “small amount” of callets. What is the maximum amount of callets (ounces) you would recommend tempering in the microwave like this?
Submitted by Miranda K - Ch… on Wed, 06/03/2026 - 16:19
In reply to Thank you so much for the… by STEPHANIE FREE
Fair question, Stephanie! I like to keep it under 500 grams for microwave tempering.